What Is a CNC Clamp and How Does It Work?
A CNC machine can follow a precise tool path, but the workpiece must stay securely in place. A Cnc Clamp provides that restraint, pressing or locating material against a machine table, fixture, or support. Its design may be simple, yet its position and force can affect accuracy, surface finish, and operator safety. Small details matter.
Clamps come in several forms, including step clamps, toe clamps, vises, and dedicated fixtures. Each suits different workpieces and setups. In practice, the right choice depends on the material, cutting forces, tool access, and available space. Too little pressure can let a part shift; too much may distort thin stock. Neither outcome is helpful.
This guide explains what a CNC clamp is, how it works, and what to consider when choosing and using one. It also looks at setup, clearance, and common clamping problems. For example, a clamp may hold firmly but still block the cutter’s path. That detail is easy to miss. No single clamp works for every job, and machine manuals and workholding guidance should inform each setup. Understanding the basics helps machinists make safer, more consistent choices—and recognize when a setup needs a second look.
What Is a CNC Clamp?
A CNC clamp is a workholding device that keeps a workpiece steady during machining. It connects to a machine table, fixture plate, or vise and applies pressure at selected points. Some clamps use screws; others use pneumatic or hydraulic force. The right choice depends on the part’s shape, material, and cutting forces.
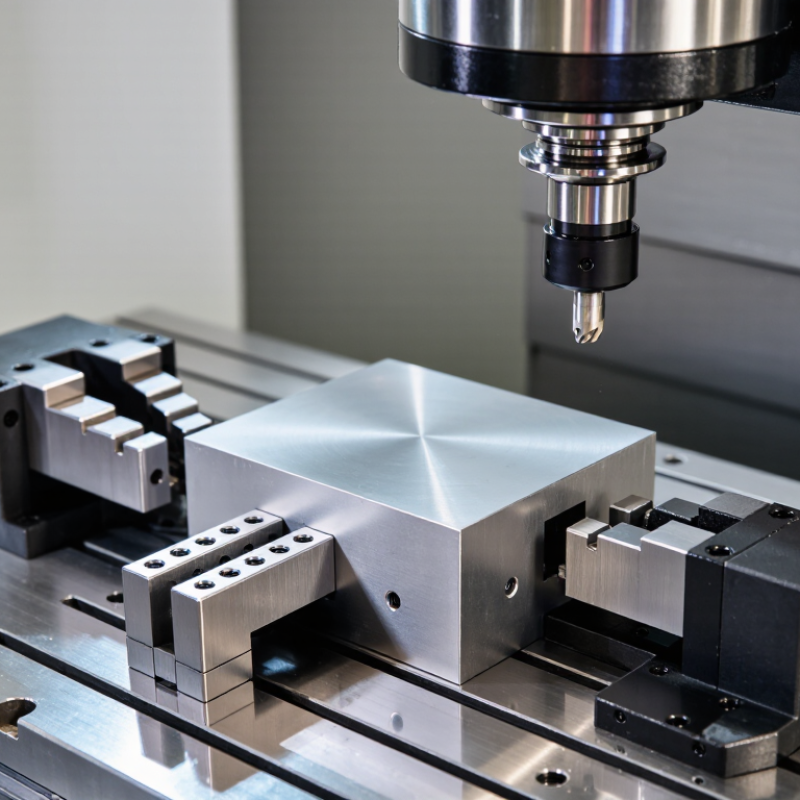
Common types include strap clamps, toggle clamps, and vises with replaceable jaws. A strap clamp presses down on a workpiece, often using a stud seated in a T-slot. The operator positions it so the cutting tool can reach the required surfaces. Small part, big risk: even slight movement can affect accuracy or damage a tool.
A clamp must hold firmly without deforming the part. Thin aluminum, for example, may bow under excessive pressure. That can be hard to spot before machining begins. In practice, choosing the right pressure takes judgment; a setup can look secure and still shift under load. Check contact points, clearances, and tool access before running the machine. Fit matters.
What Are the Main Parts of a CNC Clamp?
A CNC clamp holds a workpiece against cutting forces while a machine removes material. Its main parts are the body, fixed jaw, movable jaw, and a force-producing mechanism. The body supports the assembly and transfers load to the machine table. Contact faces should sit flat and remain free of chips. Even a thin metal fragment can tilt a part.
The movable jaw presses the workpiece toward the fixed jaw. A lead screw and handle are common on manual clamps; turning the screw advances the jaw. Other designs use pneumatic or hydraulic pressure. The screw, nut, and jaw guide should move smoothly, without noticeable looseness. That matters. A clamp can feel tight while still allowing a part to shift under a side load.
Mounting features, such as slots, studs, or bolt holes, secure the clamp to the table or fixture. Some setups also use a stop to position parts consistently between machining cycles. Check that mounting bolts are snug and that the jaws contact a sturdy area, not a thin edge. Too much force can distort soft or narrow stock. This is easy to overlook when a part appears firmly held.
What Types of CNC Clamps Are Used in Machining?
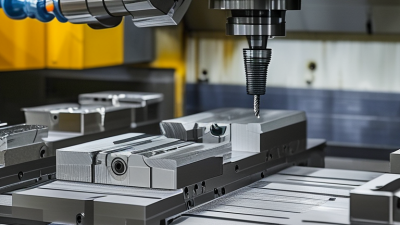
A CNC clamp secures a workpiece against cutting forces while a machine removes material. Common choices include machine vises, strap clamps, toe clamps, and modular fixture clamps. A vise grips the part between jaws and suits many rectangular pieces. Strap clamps press down from above, while toe clamps apply force near the workpiece’s edge and leave more of its top surface accessible. Modular clamps use movable components to fit different part shapes.
Vacuum clamping can hold thin, flat panels without obstructing the cutting path, but it needs a good seal and may not suit every material. Pneumatic or hydraulic clamps can speed up repeated setups. They also need suitable pressure and careful positioning. Choose a clamp based on the part’s shape, cutting forces, tool clearance, and required accuracy. Check that the workpiece cannot shift, and avoid overtightening; softer materials can deform. There is no perfect fixture for every job, and a setup that works well on one part may need adjustment on the next.
Tips: Clean the contact surfaces before clamping. Make a light test pass and check for movement or marks. Keep clamp hardware outside the tool path, and recheck tightness after setup. It is easy to miss a small clearance problem.
How Does a CNC Clamp Secure a Workpiece?
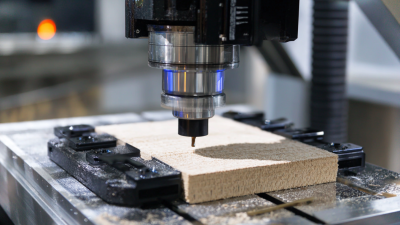
A CNC clamp secures a workpiece by pressing it against stable locating surfaces while resisting the forces created during machining. The clamp’s jaw, strap, or screw applies controlled pressure, keeping the material from shifting as a cutter moves across it. The workpiece should sit flat against its supports; even a thin chip trapped underneath can tilt it.
Small details count.
Clamping force must be strong enough to prevent movement, but excessive pressure can bend thin stock or leave marks. A common setup mistake is tightening a clamp without checking where the cutter will travel. Keep clamps clear of the toolpath, and confirm that the spindle, tool holder, and workpiece have safe clearance. For repeatable results, clean the contact points, position the part against its stops, and tighten fasteners evenly. Then check the setup by hand before starting the cycle. It is not a perfect test, but it can reveal a loose part or an obvious rocking motion. Different materials and cutting operations need different pressure, so operators should review the setup whenever the part, tool, or machining conditions change.
How Do You Choose and Use a CNC Clamp?
A CNC clamp holds a workpiece against cutting forces while leaving the tool a clear path. Choose one by checking the part’s shape, material, machining direction, and expected force. A thin aluminum plate may bow under heavy clamping; a small, even contact area can also let a part creep. Not ideal. Use broad, clean contact surfaces where possible, and support the work near the cutting zone. Check jaw height and tool clearance in the machine’s setup, not just on a drawing.
The U.S. Bureau of Labor Statistics reported 2.8 recordable injury cases per 100 full-time workers in manufacturing in its 2023 Survey of Occupational Injuries and Illnesses.
That figure is not specific to CNC clamping, but it reinforces the need for controlled setups and safe handling. Tighten the clamp evenly to the maker’s specified torque, if provided; excess force can distort a part or damage threads. Remove chips from the contact faces, confirm the workpiece sits flat, and check that the clamp cannot collide with the tool or fixture. Run a cautious first pass, then inspect for movement and chatter. Recheck after adjustment. Clamp ratings and real cutting loads do not always match neatly.